Step 1
Prepare shank; After shank is prepared, tie in a small segment of EP Sparkle Brush; Wind 1-2 turns, brushing back fibers as you go and tie off; (Please notice that this shank has been prepared with added weight in the form of brass eyes (tied in under the shank.) You will not see the eyes when the fly is completed;
Step 2
Finished Brush;
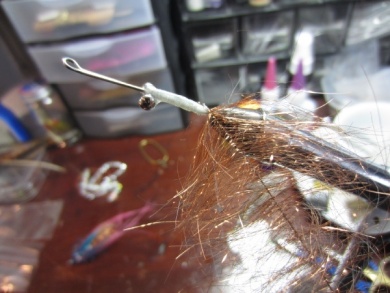
Step 3
Tie in tag of sparkle braid (or any other desired tag material) and tie off;

Step 4
Tie in Guinea, pheasant, or any other desired type/color body feather. For this stage, I brush the fibers back and then tie it in by the tip;

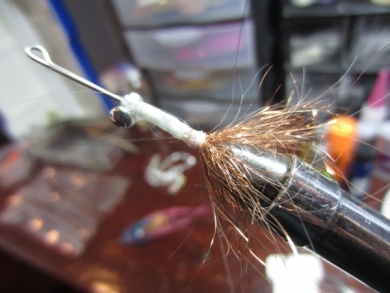
Step 5
Wind feather and tie off;
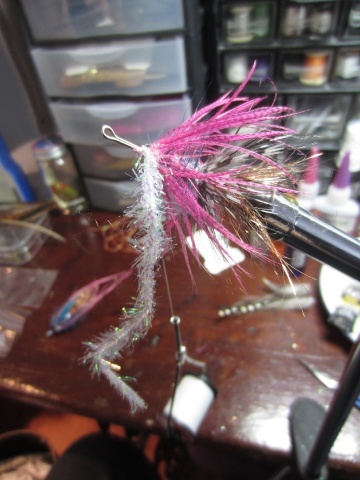
Step 6
Prepare saddle hackle by brushing back fibers and stripping off one side; Depending on pattern, your choice of color;
Step 7
Tie in saddle first (by tip) and then also tie in the tinsel chenille;
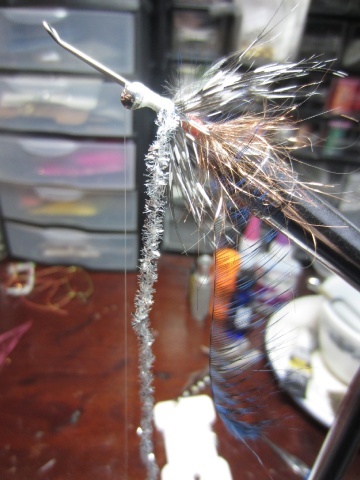
Step 8
Wind tinsel chenille first and tie-off just in front of the brass eyes; Then palmer saddle hackle over the body and tie off as well; This hackle will keep the fly nicely 3-dimensional as the front feathers sweep back;
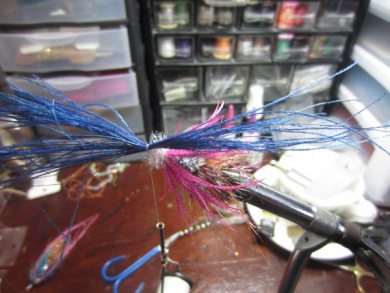
Step 9
Tie in the large Mallard flank feather - again, your choice of color. (For this particular pattern, we're using pink); In this stage, the feather can be tied in by the tip or by the butt;
Step 10
Wind Mallard flank and tie off;
Step 11
Tie in Krystal flash;
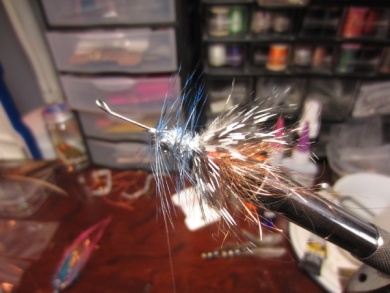
Step 12
Take two or three turns of the Krystal flash and tie off; Since the goal is to achieve a fly that is sparse and somewhat translucent, the flash will peek through nicely giving some sparkle in the water;

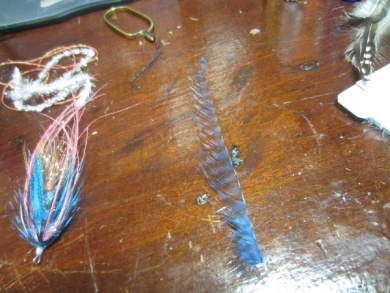
Step 13
Select a bunch of the spey feathers;

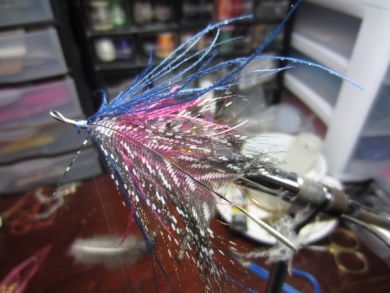
Step 14
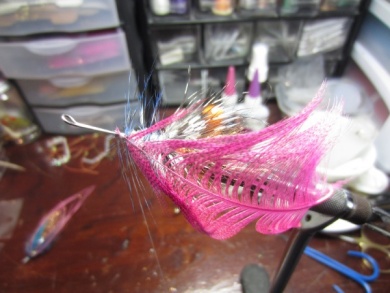
Tie in the spey feathers with two or three loose turns of the thread. Then, gently spread the spey feathers around so that they surround the entire shank on all sides; When this is done, tighten the thread; (You can also use maribou for this stage, or any other feather that will sweep back with nice motion);
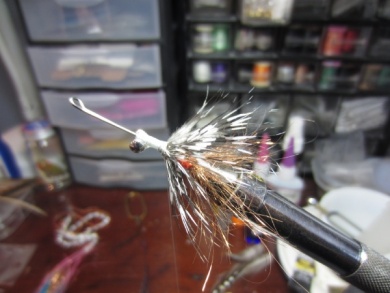
Step 15
Spey almost tied in - needs a couple more twists to fully balance the fly;

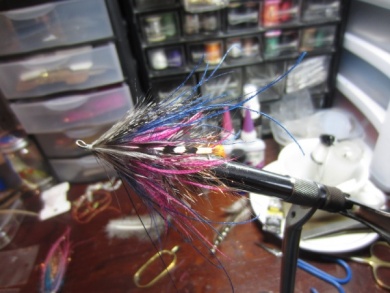
Step 16
After the spey feathers are tied in, tie in a large Guinea, pheasant or other soft body feather. Although I've tied this one in from the tip, it is actually neater to tie it in by the butt - that way, when you tie it off, the feather stem will be much thinner and give you a smaller head;
Step 17
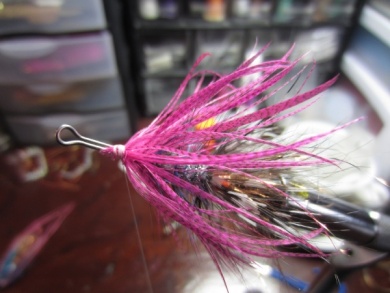
The wound Guinea. For this fly, I added a second, smaller (and lighter) Guinea as well to help me achieve a nice taper-down toward the eye and some color blend as well;

Step 18
Added jungle cock. For these flies, its nice to keep the JC eyes long so they sweep back along the sides; Finish and tie off head. I use a whip finish, but I recently watched David Nelson finish similar patterns with a single half-hitch and then lacquer with super-glue. The single half-hitch certainly helps in reducing the amount of thread turns and keeping the head smaller;
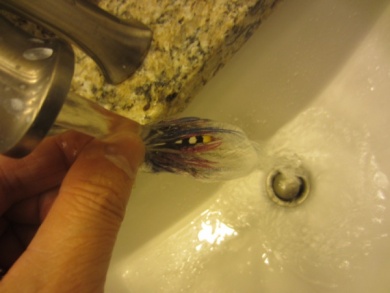
Step 19
After the head has dried, I place my fly under a strongly-running faucet for a minute or two. This helps sweep the feathers back and shape the fly nicely;
Step 20
Place the wet fly on a towel to dry - I save mine up and then dry them all overnight;
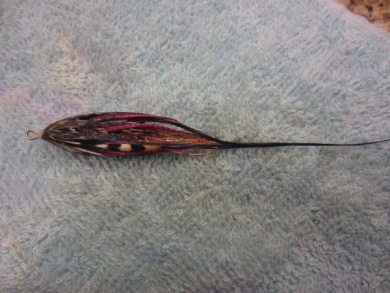
Step 21
The finished fly.